Title here
Summary here
Napari is a multi-dimensional image viewer for Python.
We have written a script that sets up Napari with a single command. In a terminal run
napari_setup.shIf the command is successful you can go to Running Napari.
In case of problems you can look at the step-by-step install instructions below.
If you already have a napari environment
the script will ask you if you want to update or reset the environment:
Napari virtual environment already exists
Do you want to (U)pdate/(R)eset/(Q)uit? (default: Q)
If you want to update the environment type U. This will update the packages in your environment
to the latest recommended version.
If you want to reset the environment type R. This will delete the environment and create a new fresh one.
If you want to quit type Q. This will exit the script without doing anything.
The following command creates a Python virtual environment
mkenv napari --python /soft/conda/envs/napari/bin/pythonAn additional fix needed is to run the following command:
echo "unset LD_LIBRARY_PATH" >> $HOME/Python/napari/bin/activateActivate the environment with
workon napariAnd install napari
pip install napari[pyside2]==0.4.17 pyside2==5.13.2If you want to create a Desktop entry for Napari follow the instructions below.
cat > ~/bin/run_napari.sh <<<EOF
#!/bin/bash

source ~/Python/napari/bin/activate
napari $@
EOF
cat > ~/Desktop/Napari.desktop<<EOF
[Desktop Entry]
Version=0.4.17
Type=Application
Name=Napari
Comment=
Exec=/home/user/bin/run_napari.sh
Icon=/soft/conda/envs/napari/lib/python3.9/site-packages/napari/resources/logo.png
Path=
Terminal=false
StartupNotify=true
EOFAnd make it executable
chmod +x ~/Desktop/Napari.desktopAs part of the automatic install and setup described above there is a script installed
in $HOME/bin/run_napari.sh that launches napari. To use it, in a terminal:
$HOME/bin/run_napari.shThis script makes sure to activate the napari environment and run napari with the correct command taking into account the availability of a GPU.
If you want to launch napari without using the script above open a terminal and make sure you are in the napari virtual environment (run workon napari if unsure).
napariIf you hace access to a GPU and want to use GPU acceleration in Napari
vglrun napariAlternatively you can use the File Manager, navigate to a file or a directory and use the right click menu to open it with Napari:
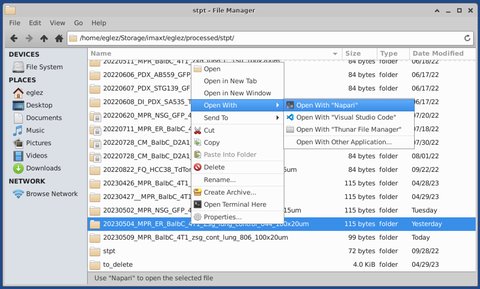
If Open with Napari does not appear, use Open with other application and select
Napari.
The plugins described below are installed by default in the napari virtual environment by the
automatic setup script described above.
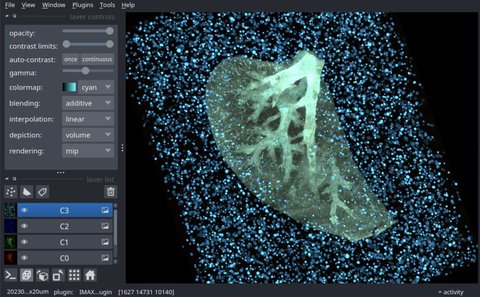
The Napari multiscale plugin allows to visualize STPT and AxioScan data cubes in 2D and 3D. To install it first
activate the napari virtual environment
workon napariand use pip
pip install imaxt-multiscale-pluginIf you want to be able to create animations install as well the napari-animation plugin
pip install napari-animationThe plugin integrates into Napari adding support for IMAXT multiscale data. In order to open a dataset start napari with the location of the dataset, e.g.
$HOME/bin/run_napari.sh /storage/imaxt.processed/stpt/20230418_MPR_Balbc_lung_infl_dapi_100x20umor navigate the the sample with the File Manager and open the sample with Napari as explained in Running Napari.
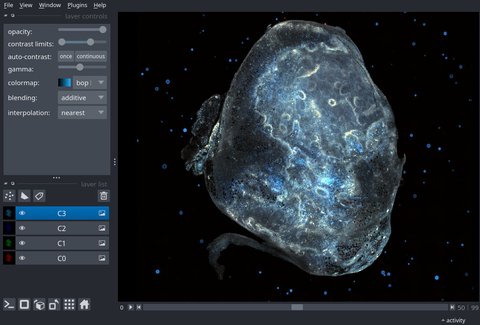
Napari can also perform 3D visualization of the cube. It is recommended however in this case to use GPU accelleration. Note that multiscale rendering is only supported in 2D. In 3D, only the lowest resolution scale is displayed.
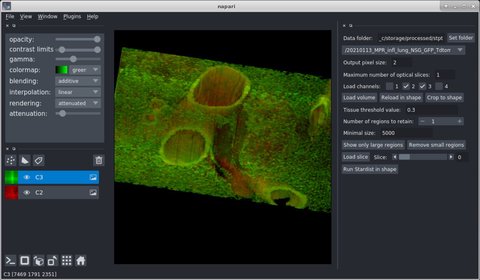
In order to install the napari-stpt plugin
activate the napari environment
workon napariand use pip
pip install napari-stptThen start it with
napari-stptor if there is GPU available
vglrun napari-stptand select the dataset to load from the dropdown menu.
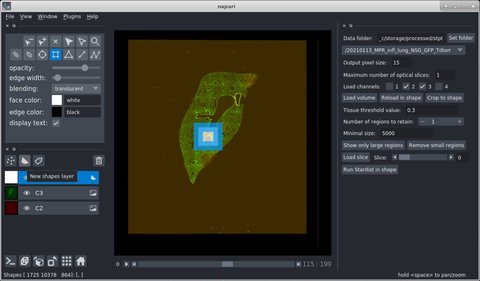
This is in preview – not yet rolled out.